Despite the size of the country’s population, Kodi hasn’t yet made much traction within India. Right now there are some very good Indian add-ons out there that will give you access to a wide array of Indian content, whether you speak Hindi, Bengali, Telugu, Marathi, Tamil, Kannada, or Punjabi.
This guide is basically going to walk you through installing the Einthusan, Sony LIV, TV on DESI ZONE, ZemTv.com and optionally the Ditto and Hotstar add-ons for Kodi.
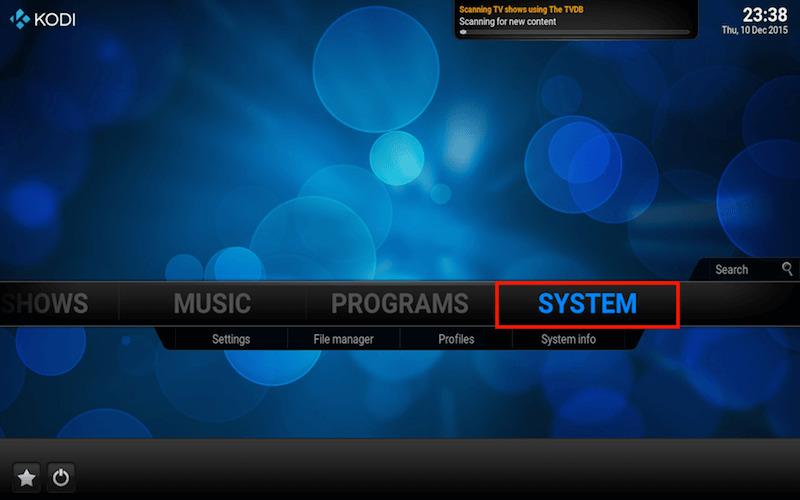
Navigate to the “Settings” tab under the “SYSTEM” menu heading.
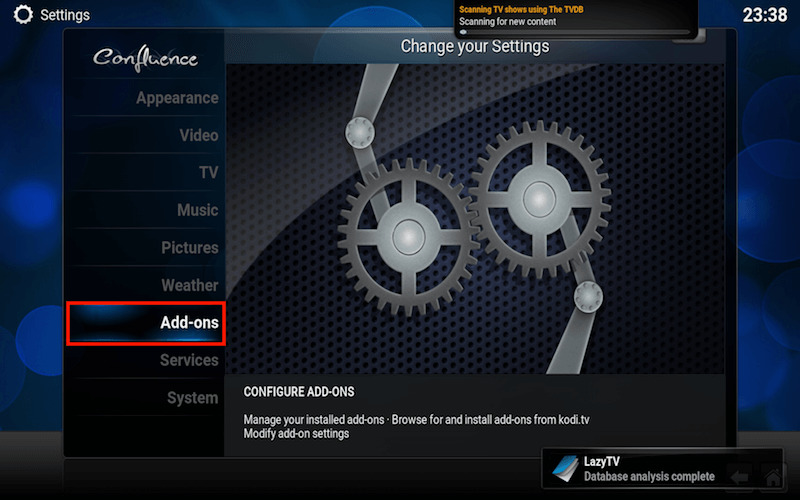
Click on the “Add-ons” tab on the left side vertical menu bar.
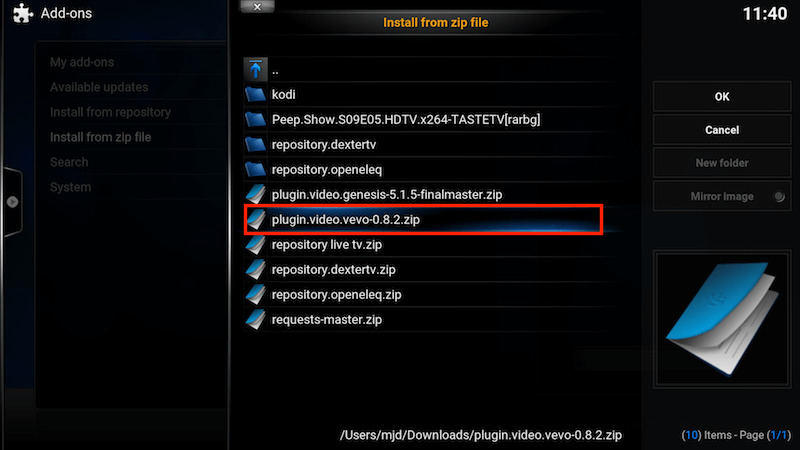
Click on the “Install from zip file” function.
Select the “fusion” server folder.
Choose the “xbmc-repos” folder.
Select the “international” category folder.
Click on the “indian-repository.aj-addons-1.0.3.zip” file from the listing.
Repeat “Step 3” until “Step 6” and then Click on the “pakistani-repository.shani-2.8.zip” file from the listing.
Repeat “Step 3” until “Step 6” and then Click on the “nepalese-repository.humla-1.0.5.zip” file from the listing.
Select the “Install from repository” function at this point.
Select the “aj add-ons (new look)” repository.
Select the “Video add-ons” category.
Click on the “TV on DESI ZONE” add-on from the listing.
Click on the “Install” button at this point.
Return to the repositories listing, then Select the “humla Add-on Repository” this time.
Click on the “Video add-ons” category at this point.
Click on the “Einthusan” add-on.
Click on the “Install” button.
Return to the repositories listing, then Click on the “Shanis Addon Repository” this time.
Select the “Video add-ons” category.
Click on the “ZemTV.com” add-on at this point.
Select the “Install” button.
Return to the repositories listing, then Choose the “Kodi Add-on repository” listed.
Click on the “Video add-ons” category.
Click on the “Sony LIV” add-on from the listing.
Click on the “Install” button.
Return to the Kodi homescreen, then Click on the little power icon at the lower left of the screen.
Choose the “Exit” function when prompted.
Download the Ditto-Rain add-on to your device. It was saved to the “Desktop” for this example.
Download the Hotstar-Rain add-on to your device. It was saved to the “Desktop” for this example.
Relaunch “Kodi” and Navigate to the “Settings” tab under the “SYSTEM” menu heading.
Click on the “Add-ons” tab from the left side vertical menu bar.
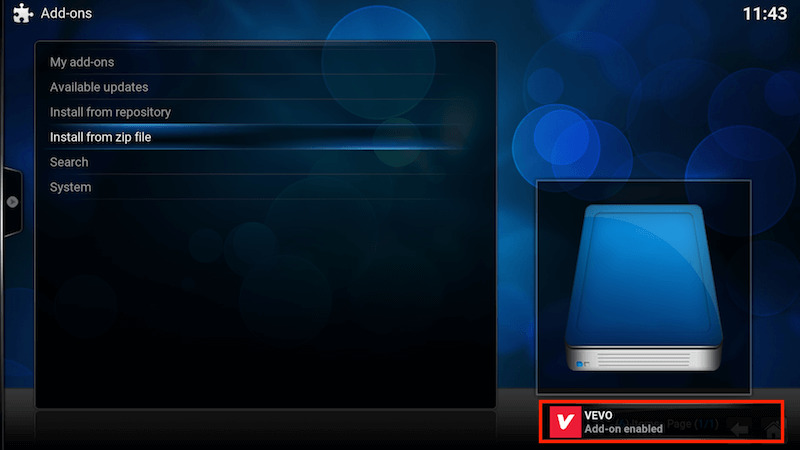
Select the “Install from zip file” function at this point.
Choose the folder within which you saved the add-on ZIP file in “Step 29” of this guide. It was saved to the “Desktop” for this example.
Click on the “plugin.video.ditto-rain.zip” file from the listing.
Repeat “Step 33” and “Step 34” of this guide, then Click on the “plugin.video.hotstar-rain.zip” file from the listing.
Return to the Kodi homescreen, then Navigate to the “Add-ons” tab under the “VIDEOS” menu heading.
Select the Indian add-on for Kodi of your choice.
Watch and Enjoy!